Do you need a SIM card in Seoul?
Before I get into the apps, I want to recommend getting a SIM card for your trip. Regardless of where my partner and I are travelling, we always purchase a local SIM card or eSIM. This isn’t just for convenience – it’s for our safety too. Plus, you’ll need internet access for the first app I’m about to recommend.
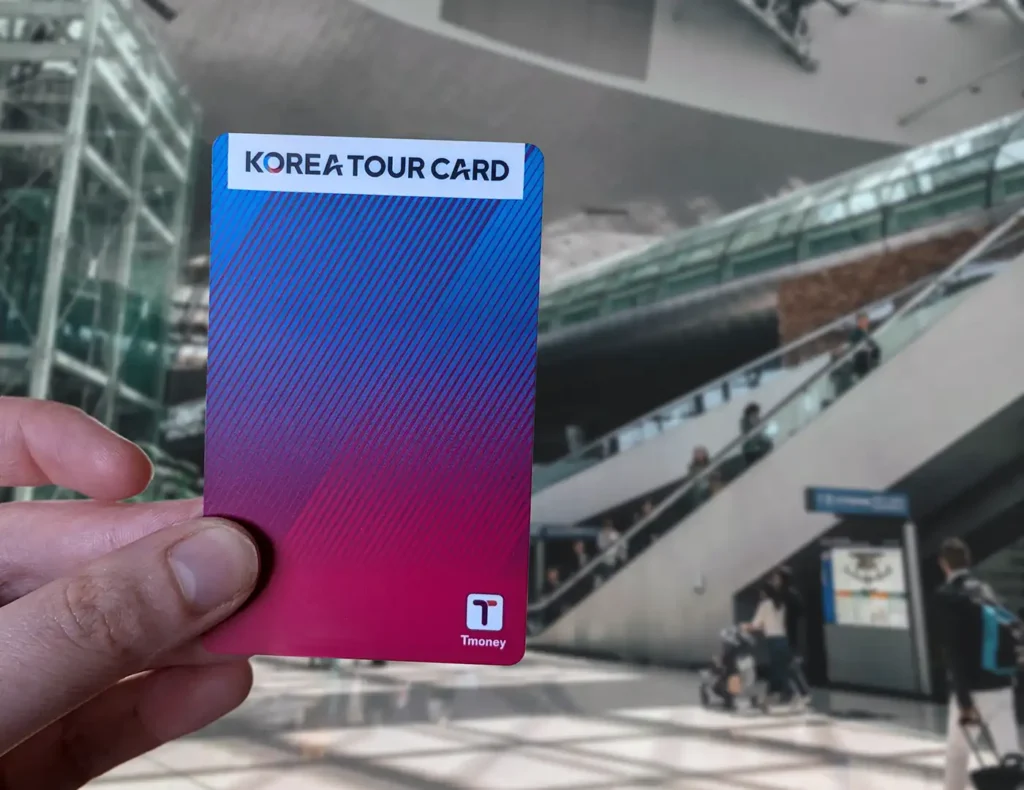
We pre-ordered a combo SIM and T-money card on Klook that gave us 7 days of unlimited data. To save money, we bought just one SIM between us and turned on my hotspot whenever my partner needed internet access. This also gave us a T-money card that we could use for public transport, so we only needed to grab one additional card at the airport.
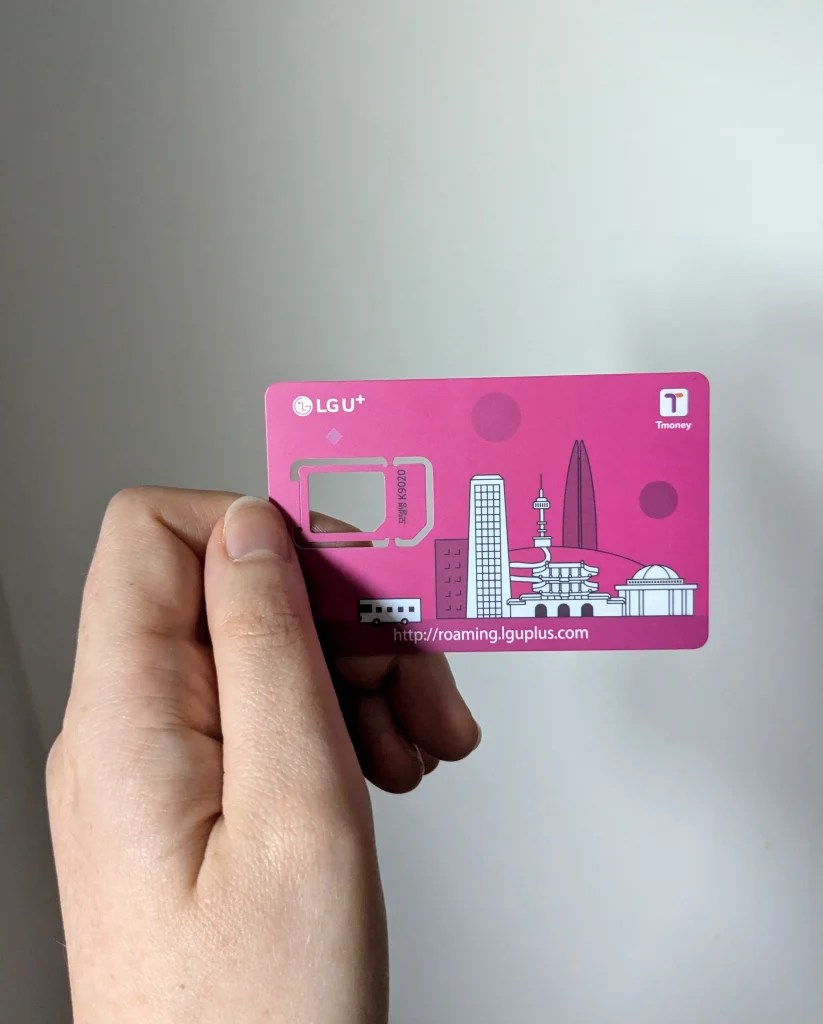
We picked it up at Incheon Airport, and the staff were incredibly helpful – they installed the SIM in my phone and even taped my home SIM to the packaging so I wouldn’t lose it. The SIM card uses the LGU+ network and had great service everywhere we went in the city.
Although we chose to buy physical SIMs, you can of course pick an eSIM instead. Airalo and Saily are both great options – I’ve had good experiences with these. You can set these up before you leave, which means you’ll have data as soon as you land.
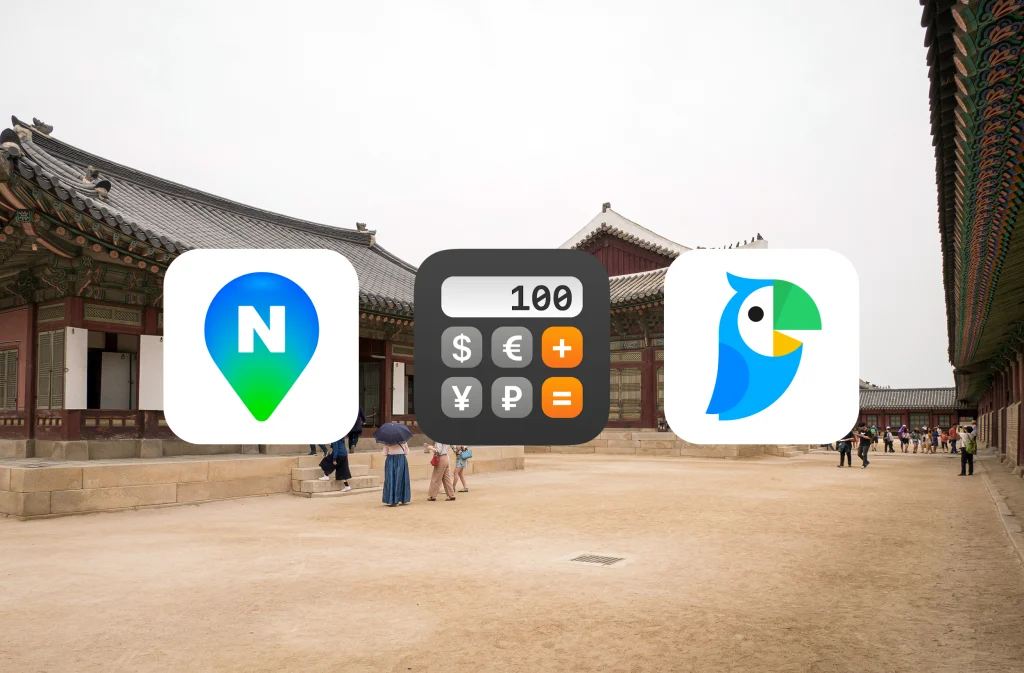
The only 3 apps you need to download for your Seoul trip
Naver Maps
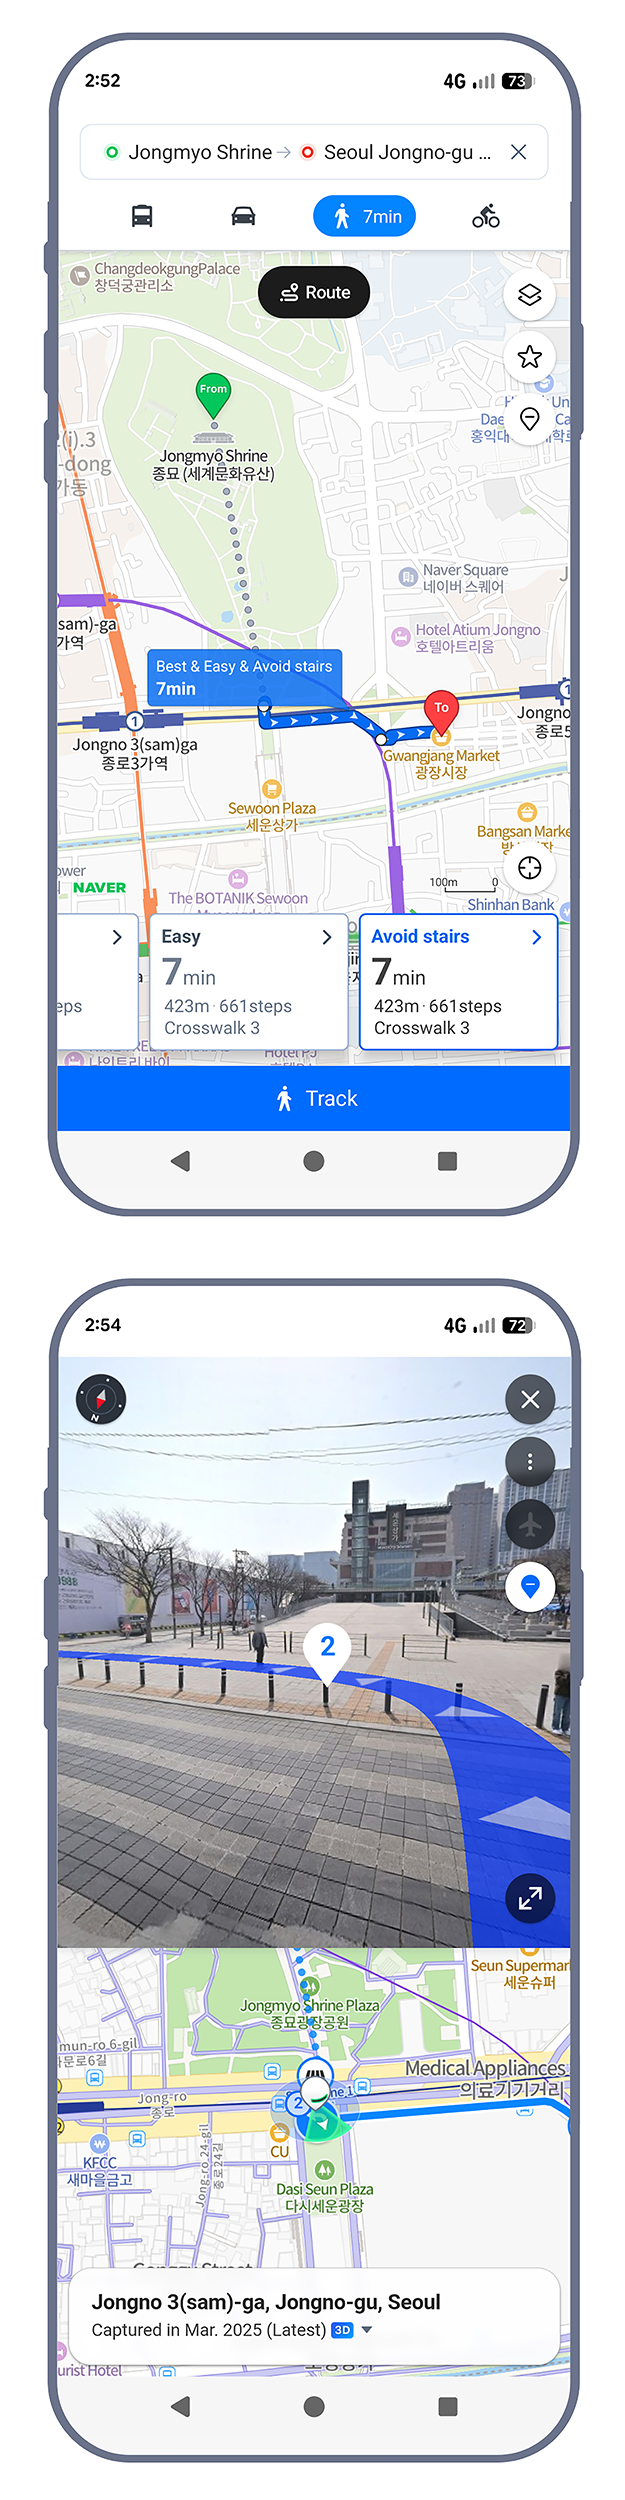
If you only download one app on this list, make it Naver Maps. Google Maps is unreliable in South Korea, which is why locals use Naver instead – and it was the app my partner and I used most during our trip.
The directions are much better than Google Maps and far easier to follow. I love that the walking feature lets you choose the fastest route, the easiest route, or to avoid stairs. It also tells you how many crosswalks you’ll encounter, and has visual directions that are much clearer than Google Maps’ version.
You can sign up to save locations, but we stuck with using it without an account and had no issues. Some people online have mentioned they couldn’t sign up using a foreign phone number, so going account-free might be simpler anyway. If you want some help setting up and using the app, I have a full article about how to use Naver Maps in English that walks you through all the features.
Download it here: iOS | Android
Papago
Google Translate is usually my go-to for translating, but the best option in Seoul is actually Papago. It’s made by Naver (the same company who run the navigation app above), and it’s designed specifically for Korean, Japanese, and Chinese, which makes it far more accurate for Korean-English translation.
The main difference is that Papago translates into natural, readable sentences instead of the awkward, word-for-word translations Google Translate gives you. It picks up on nuances, grammar, and context that Google Translate often misses, making everything easier to actually understand.
I did a side-by-side translation of one of our pouch drinks using both apps so you can see the difference.
We used Papago constantly for reading menus, product labels, and signage in less touristy areas. The app also has real-time voice translation, which could be useful if you need to communicate with taxi drivers or older locals who don’t speak any English – we didn’t end up testing this out, so I can’t speak to how well it works.
Download it here: iOS | Android
Currency Converter Offline
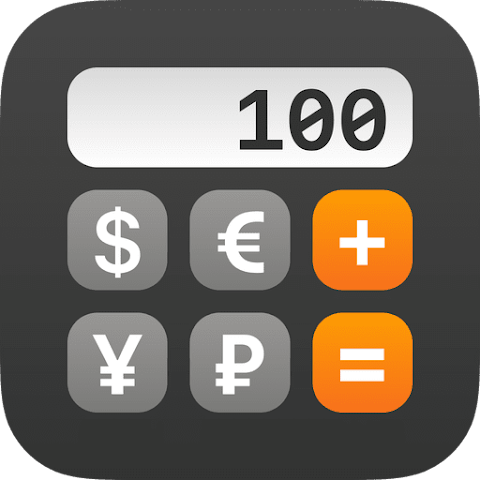
This app isn’t South Korea specific, but it makes converting Won to your currency easy and fast. Even though we didn’t have a strict budget, we wanted to make sure we weren’t overspending, which can be easy to do when you’re used to single-digit dollars. It was handy for quickly checking prices as we walked through markets or read menus. Then after a couple of days, we’d picked up a rough conversion to Australian dollars and didn’t need to check so often.
There are plenty of currency converter apps out there – this is just one I’ve been consistently using for years. The biggest selling point for me is that it works offline, which is perfect if you don’t have a SIM or lose connection. You can see when the rates were last updated at the bottom, and the app refreshes whenever it connects to the internet. So if you’re jumping on wifi every night, the rates will stay relatively current.
Another handy feature is that the app stays fixed on your last conversion, so you can just open and use it without fiddling around each time.
I just use the free version – you get one ad per day, which honestly isn’t worth paying to remove. I’d save the $9 and spend it on some of Seoul’s amazing street food instead.